Souper Easy Crock Pot Potato Soup

Crock Pot Potato Soup by southerndaisy.com

No, I didn’t spell “super” wrong in the title.  That’s just me having a little fun since this post is about soup and it’s SUPER easy to make!

I found this recipe floating around on Pinterest (you can follow me HERE) and I decided to give it a try, since it’s been a while since I’ve made any kind of soup.

Here’s what you’ll need:

  • 1 bag (32oz) frozen, cubed hash browns
  • 2 (14 oz) cans of chicken broth
  • 1 (10.75 oz) can cream of chicken soup
  • 1/2 cup chopped onion (optional — I omitted this since I’m not a big onion fan)
  • 1/2 tsp freshly grated black pepper
  • 1 (8 oz) package of cream cheese (softened)
  • Salt to taste
  • Optional garnishes: bacon, shredded cheese, chopped green onion, or whatever your little heart desires

potatosoup

Start by adding the entire bag of hash browns to your crock pot.

potatosoup-2

Then pour in the chicken broth…

potatosoup-3

and cream of chicken soup.  There’s really no pretty way to photograph the pouring of cream of chicken soup.  It’s just a slimy, flubber-like blob that plops out — usually accompanied by an unpleasant farting sound.  But hey, what are ya gonna do?  That’s just the way it is!

Moving on.

potatosoup-4

Add salt and pepper and give it all a stir until combined.  Cook on low for 5 hours.

potatosoup2

Once 5 hours has passed, add cream cheese.

potatosoup2-2

Stir to combine, breaking up any cream cheese clumps with your spoon.  Cook on low for an additional 30 minutes.

potatosoup2-3

Top with your favorite garnishes (in this case bacon, cheese, and green onions) and enjoy!

potatosoup2-4

[yumprint-recipe id=’1′]

Grayson’s 15 Month Photos

It has been quite a while since I’ve taken any pictures of my son, Grayson, with my good DSLR camera instead of just my iPhone, so I decided that since he had just turned 15 months a week before, I’d take some photos of him at the park.

0J4B3350

He started walking only a few short weeks ago, so he got to show off his new skill to some of the joggers on the path!  Of course he smiled his shy smile at every single person who passed by, as he always does.

0J4B3369

0J4B3368

It can be pretty hard to get good pictures of a fast moving baby, so I found this awesome stump for him to sit on.

0J4B3397

Grayson 15 months

After a few minutes he had had enough sitting and wanted to walk around again.

0J4B3433

And since I don’t have many pictures of Grayson and me together, I attempted a selfie of us with my super heavy camera.  Let me tell you, that is no easy task!  And when I saw the result, I couldn’t help but laugh at Grayson’s fish face.

Selfie

And in case any of you thought my photos always come out of my camera with perfect lighting, coloring, and blemish free, here is an example of why photographers charge what they do. The picture on the left is straight out of my camera, and the picture on the right is after 45 minutes of editing. I always spend this amount of time on each and every photo I provide for my clients. Just remember that even though it may seem like a lot of money just for pictures, you don’t know just how much time the photographer is spending on editing your photos. It’s not just the hour or two they spend with you during the session, it’s countless hours in front of the computer making sure each and every photo is perfect.

Before and After

Baby Gender Reveal!!!!

Well, after much anticipation (and morning sickness), we can finally reveal the gender of our new baby!!!!  We’ll let our son, Grayson, do the honors.

Big Brother

Baby boy #2 will be named Oliver Steven McVey.  Now both boys will share part of their daddy’s name!  I can’t believe my little baby boy is going to be a big brother!!!  Where has the time gone?!

Grayson and Oliver will be about 20 months apart, so we’re hoping that they grow up to be the best of friends.  Thank you to everyone for all your love and support!  We can’t wait to introduce our new little man to you in January!

Our Family is Growing!

Mama's Due with Baby #2!

It’s true!  I’m almost 12 weeks pregnant with our second child!  This pregnancy has not been an easy one.  I actually ended up in the hospital yesterday from dehydration.  6 hours and 2 bags of IV fluids later, I was feeling much better, and was able to keep down my dinner.  The reason it took so long is because my veins were so flat from being dehydrated that the fluids had trouble flowing through my IV.  (Well, that and the fact that I had to wait 2 hours in the waiting room for a bed to open up.)  I was put on a new medication and will hopefully turn a corner soon.

This baby is due January 21st, and we’ve already had our first doctor’s appointment and seen our little peanut via ultrasound.  At first I was positive this baby would be another boy, but since I’ve been SO sick this time around (much more than I was with Grayson), now I’m wondering if this one is a girl.  I guess only time will tell!

Here’s a couple pictures of our little munchkin.

13-06-11-110414_MCVEY_20130611_110414_0000

13-06-11-110414_MCVEY_20130611_110414_0001

13-06-11-110414_MCVEY_20130611_110414_0009

We’re going to try to find out the gender around 15 weeks via elective ultrasound.  But if we can’t tell then, we’ll have to wait until our anatomy scan at 20 weeks.  If you could spare some prayers, please pray that I will have some relief from this morning (all day) sickness soon!

Homemade Pizza Dough

I did it!  I made pizza dough from scratch!  First time ever!!!  And I have to say, it tastes WAY better than the pre-made dough you can get in a can.  Are those called cans?  I keep going back and forth.  I know biscuits come in a “can”, but to me, it’s not a can unless you have to use a can opener.  Pressure sealed cardboard doesn’t really scream “can” to me.

I’ve started to ramble.

Anyway, I found this pizza dough recipe in the Pioneer Woman’s cookbook, and wanted to make it, but kept putting it off.  I mean, it involves yeast!  The only bread I’ve ever made is banana bread or dessert items.  Never have I made something that need to *gasp* rise!  But it actually wasn’t as scary as I thought!  Yes, I messed up a little when I didn’t mix it long enough to form a ball, but I remixed it after I noticed that it wasn’t rising after an hour of sitting, and it turned out just great.  Hey, you don’t learn if you don’t make a few mistakes along the way.

Here’s what you’ll need:

  • 1 scant tsp active dry or instant yeast
  • 3/4 cup warm water
  • 2 cups all-purpose flour
  • 1 tsp kosher salt
  • 3 tbsp extra virgin olive oil

pizzadough

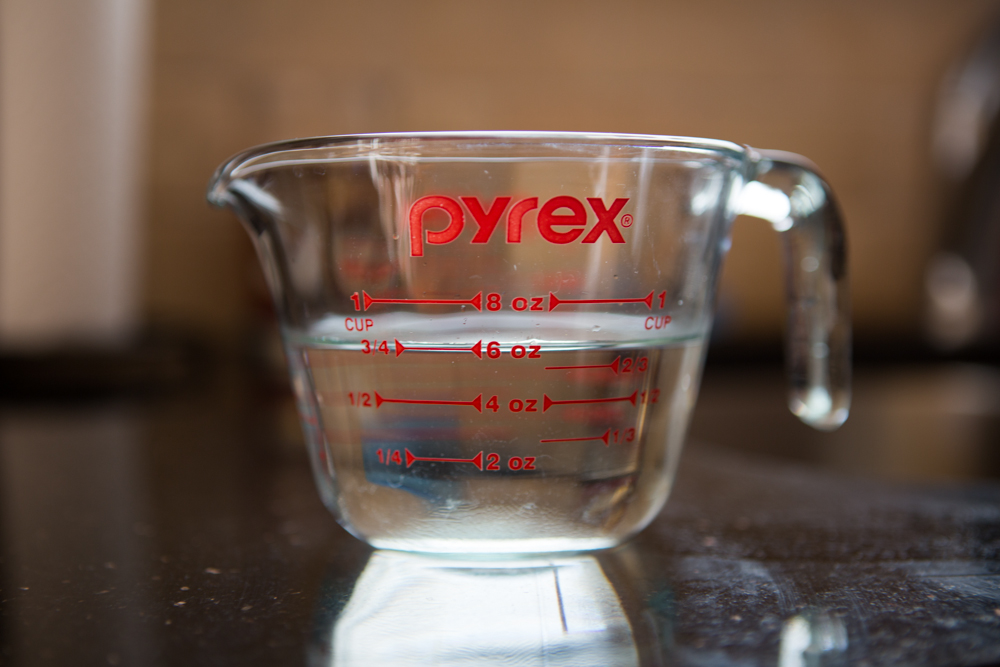
Fill a measuring cup with 3/4 cup of warm (not lukewarm) water.  You’ll need it quite warm to activate the yeast.

pizzadough-2

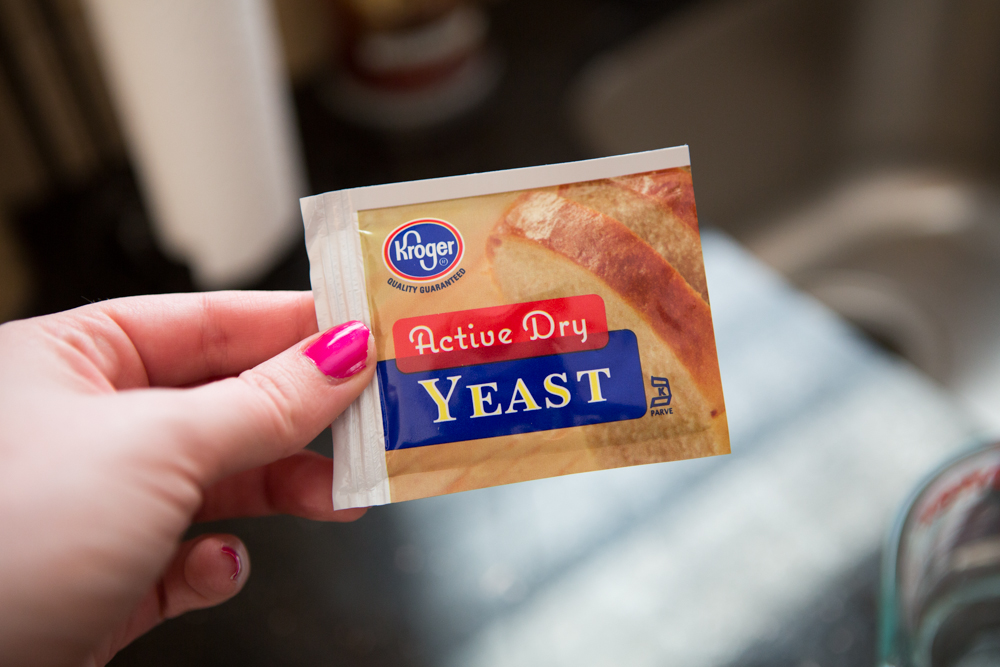
They have these cute little packets of active dry yeast at the grocery store, but I think you can also get it in a jar.  Don’t mind my chipping nail polish.

pizzadough-3

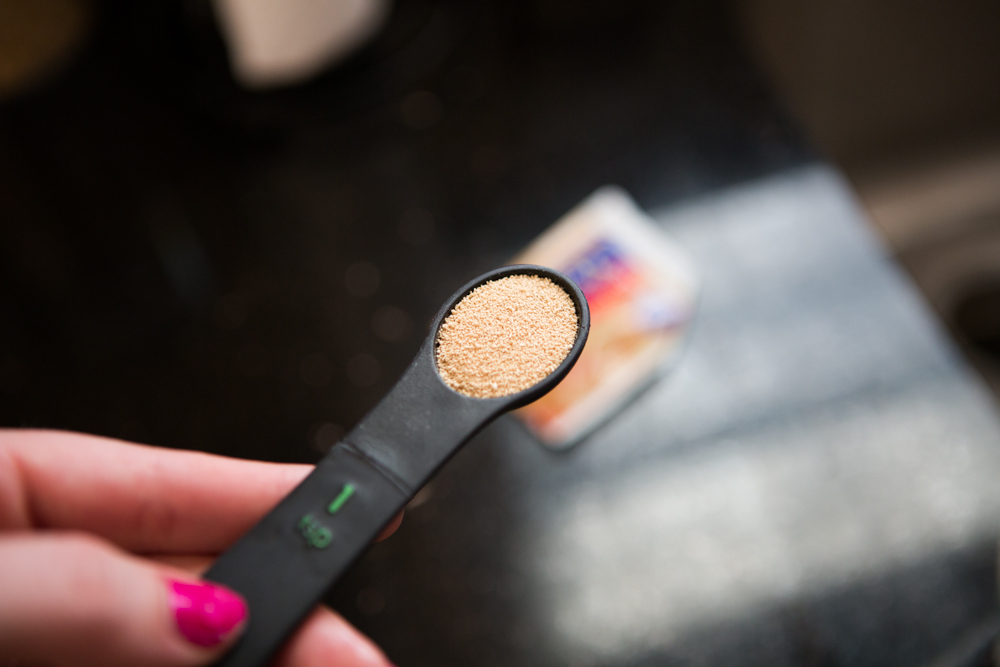
The packet had more yeast than I needed, so I measured out a scant teaspoon (scant means not quite a full teaspoon).

pizzadough-4

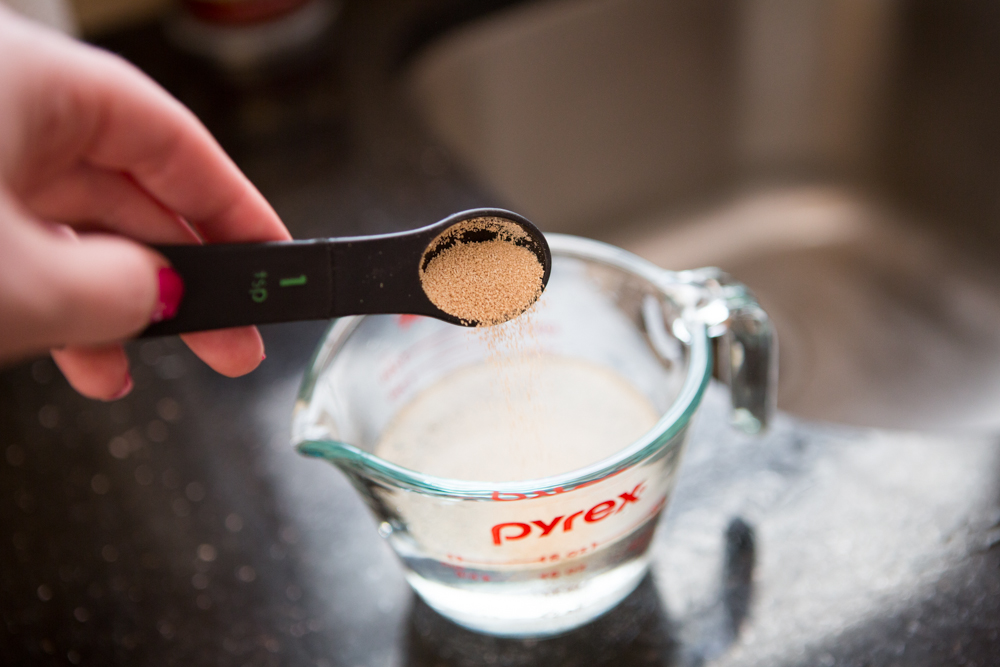
Pour the yeast into the warm water.

pizzadough-5

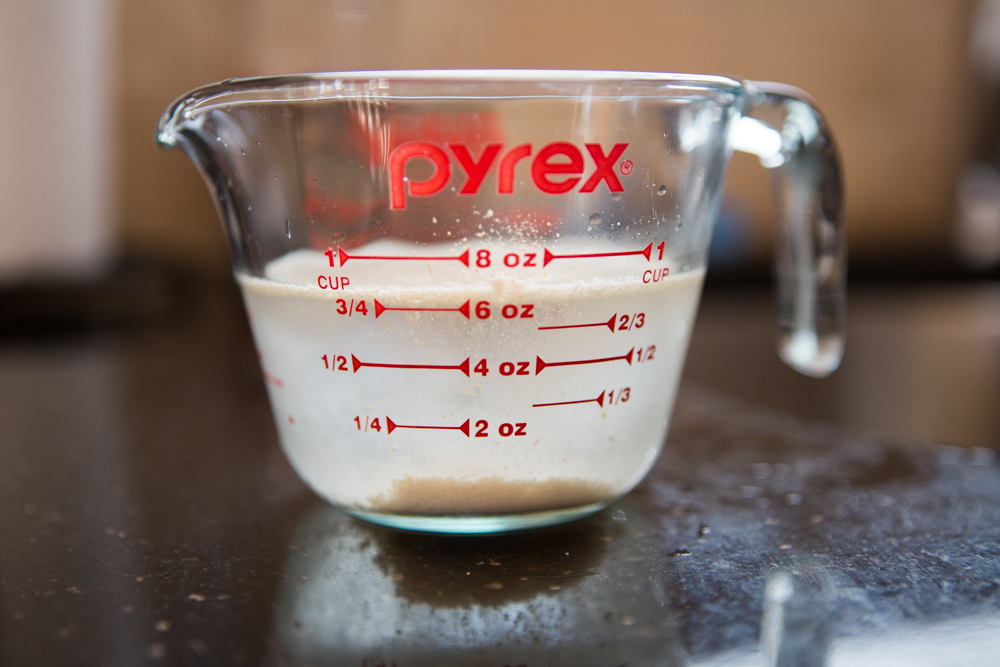
Let the yeast and water sit for about 10 minutes.

pizzadough-6

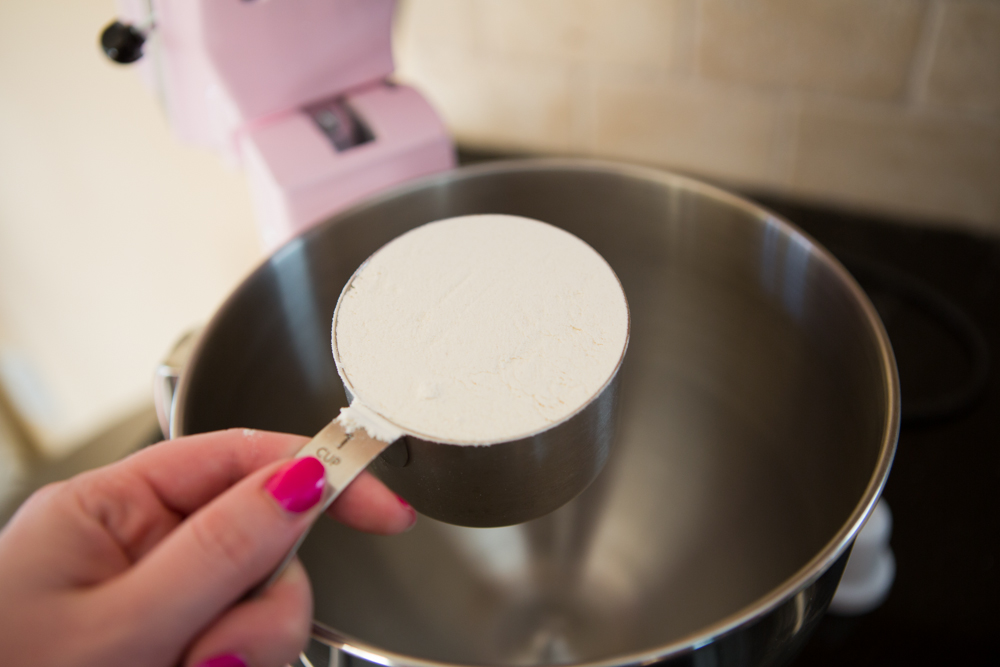
Meanwhile, we can start making the dough.  Measure out your flour.

pizzadough-7

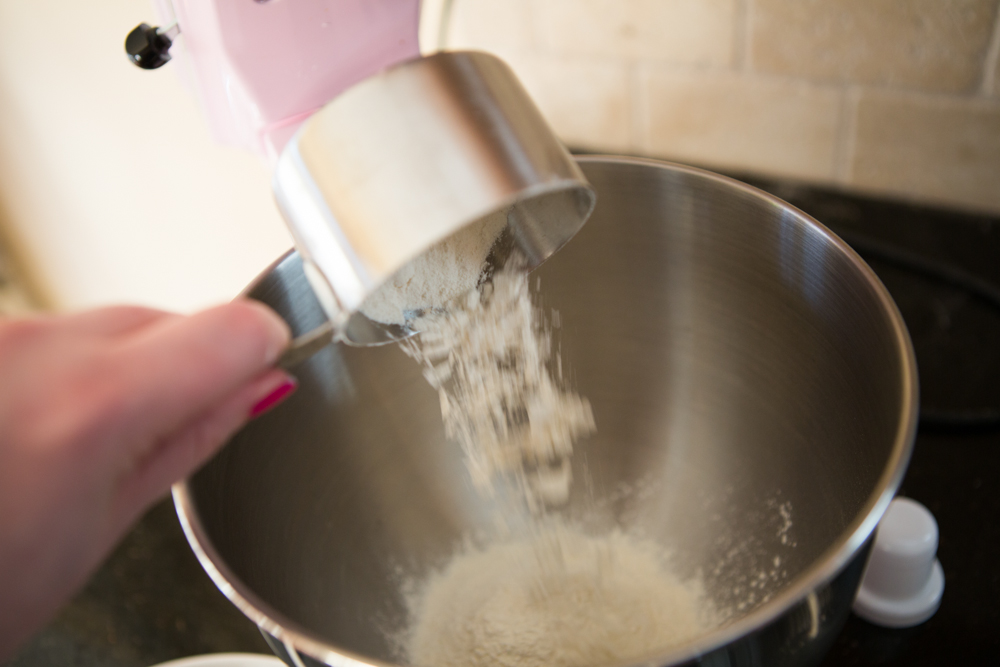
And dump into the bowl of your stand mixer.
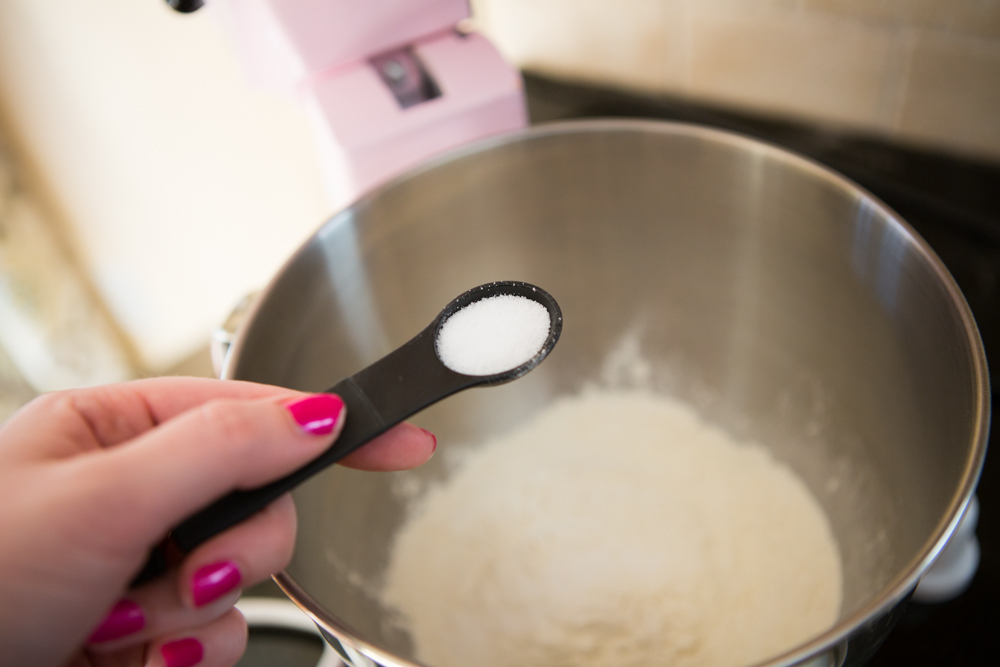
pizzadough-8

Add salt.

pizzadough-9

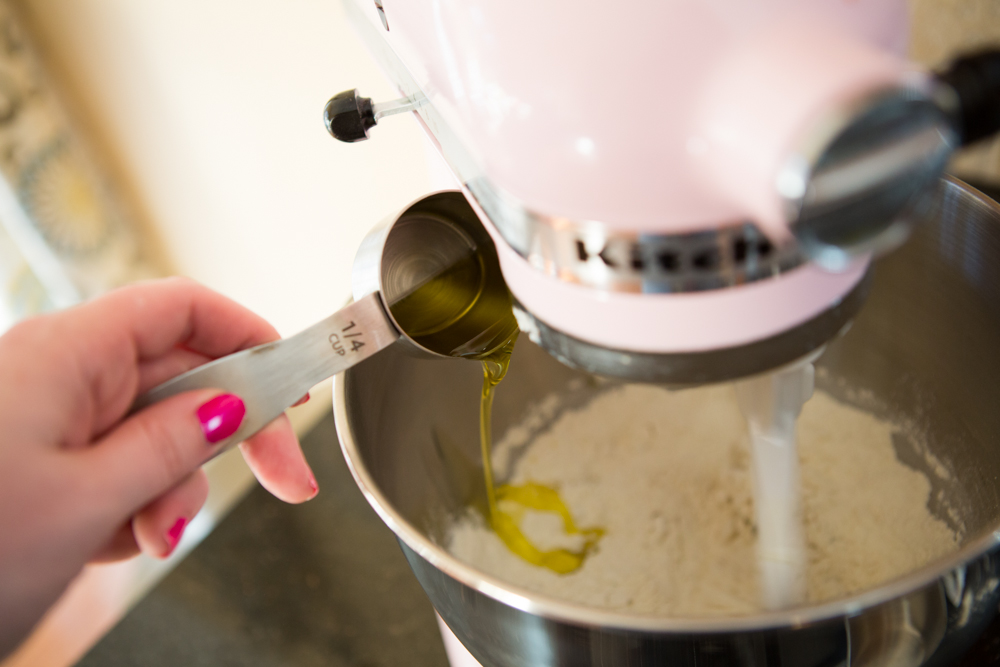
And olive oil, and mix until combined.

0J4B2038

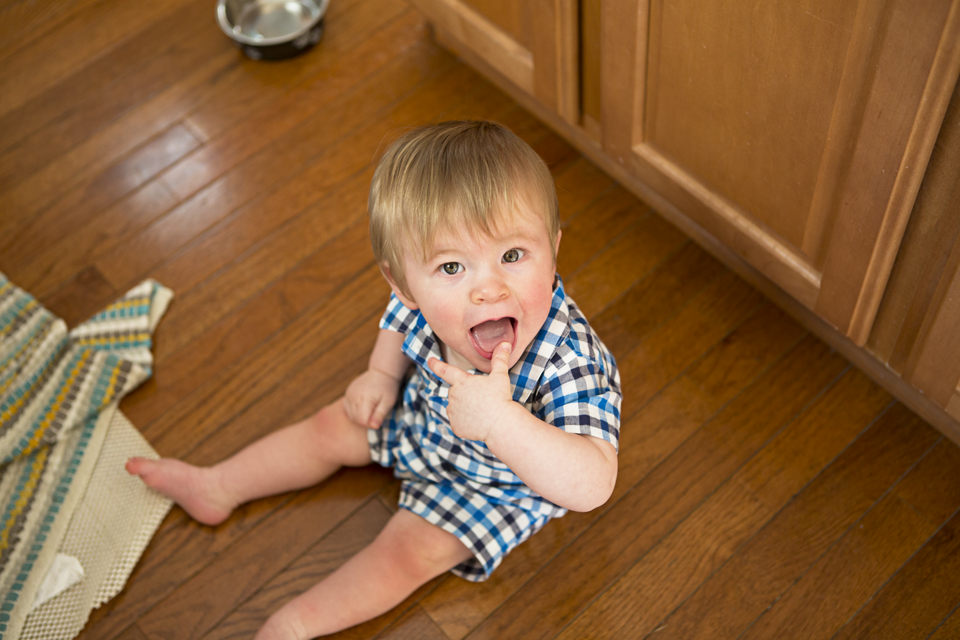
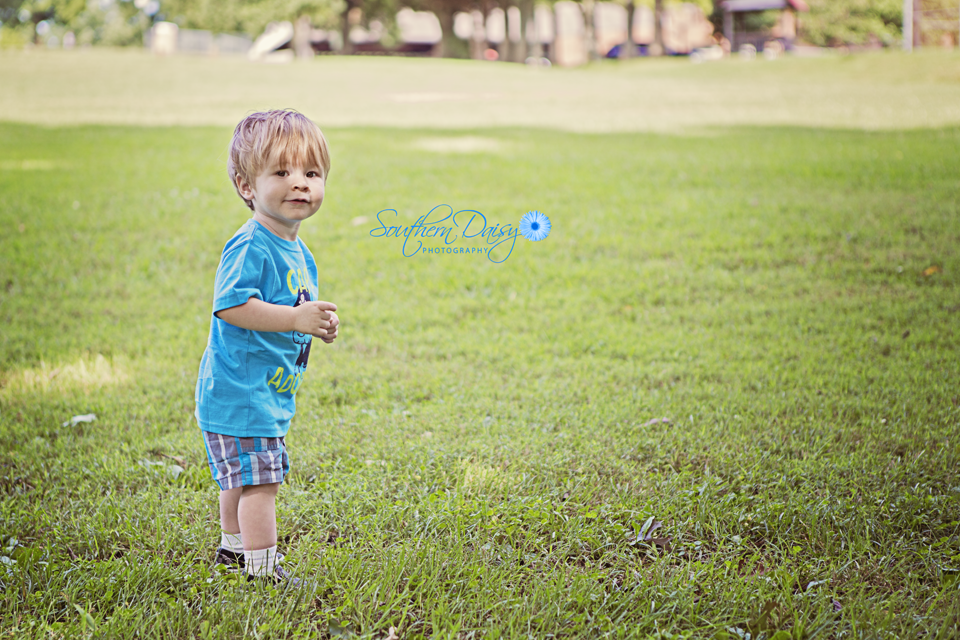
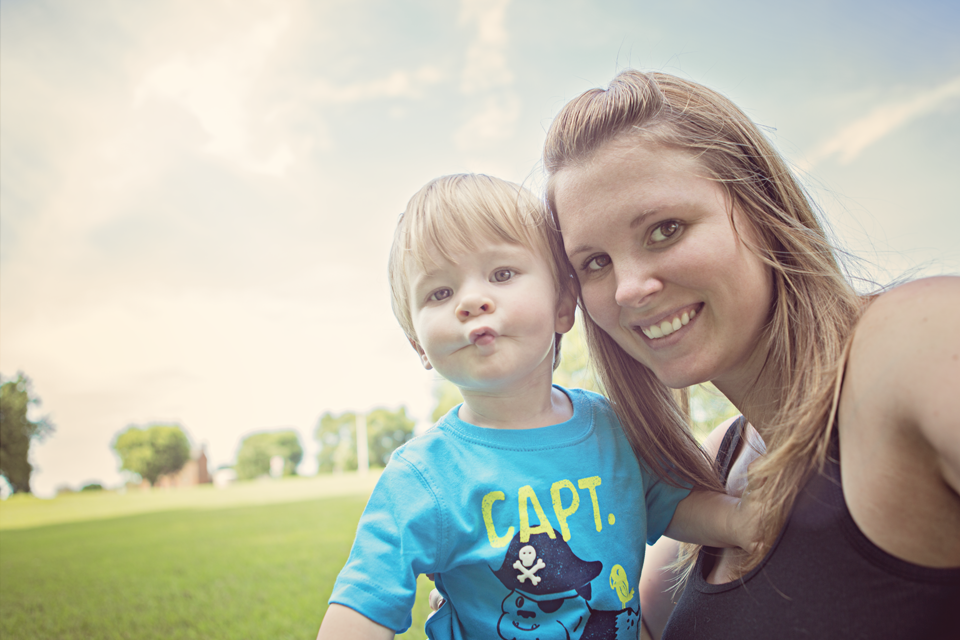
While you wait for your yeast to finish “activating”, check on your son to make sure he isn’t putting anything weird into his mouth.  As you can see, he had some fun playing with the kitchen rug, as well as the cat’s food bowl while mommy was cooking.  Luckily, the only thing that went into his mouth were his fingers.

pizzadough-10

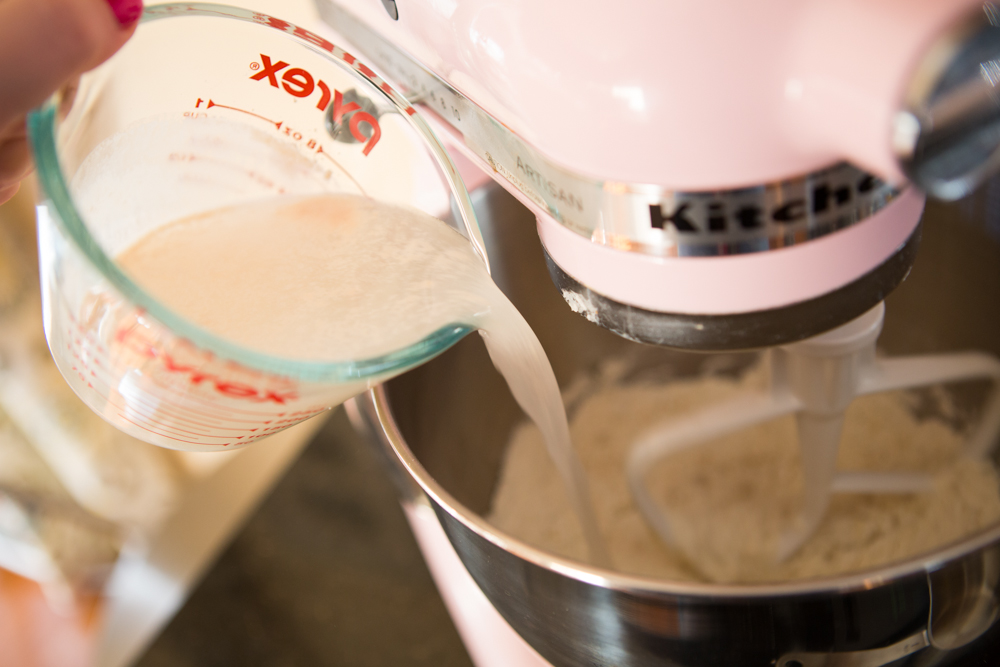
With your mixer on low, slowly add the water and yeast mixture.

pizzadough-11

Mix with the paddle attachment until the dough forms a ball.  You’ll know when this happens.  I didn’t mix it long enough when I took this picture, so don’t do what I did.  Make sure you mix it long enough or it won’t rise properly.

pizzadough-12

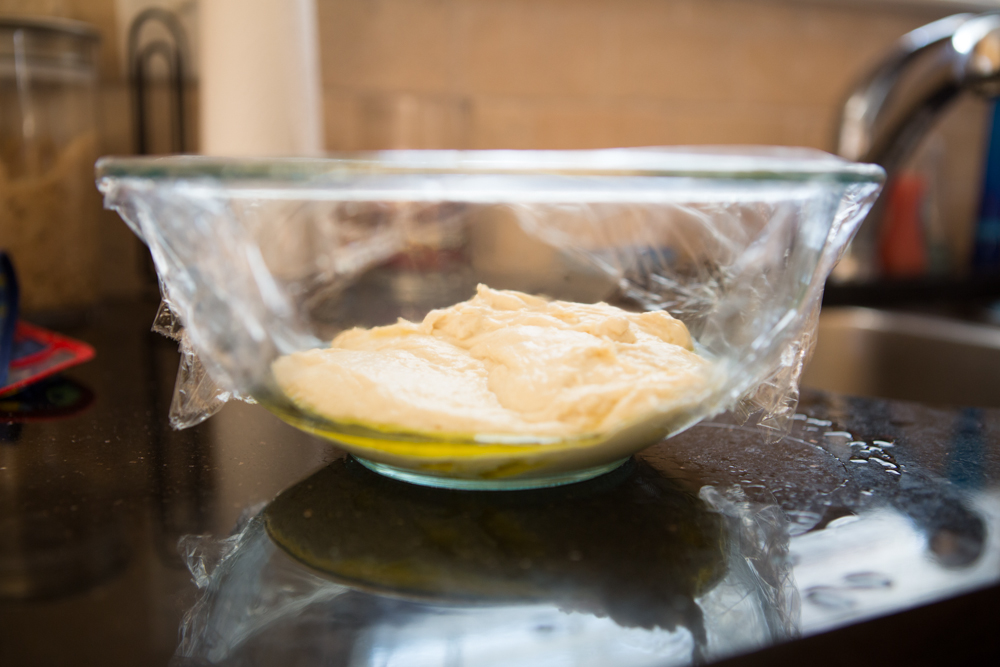
Again, this picture is a little misleading, so just imagine that it’s a nice little dough ball in there.  Coat the bottom and sides of a medium bowl with olive oil (or you could also use cooking spray), place the dough in the bowl, and cover with plastic wrap.  Let the dough rise for at least an hour, but overnight is best.  If you’re not going to use the dough within an hour or two, stick it in the fridge to continue rising.

pizzadough-13

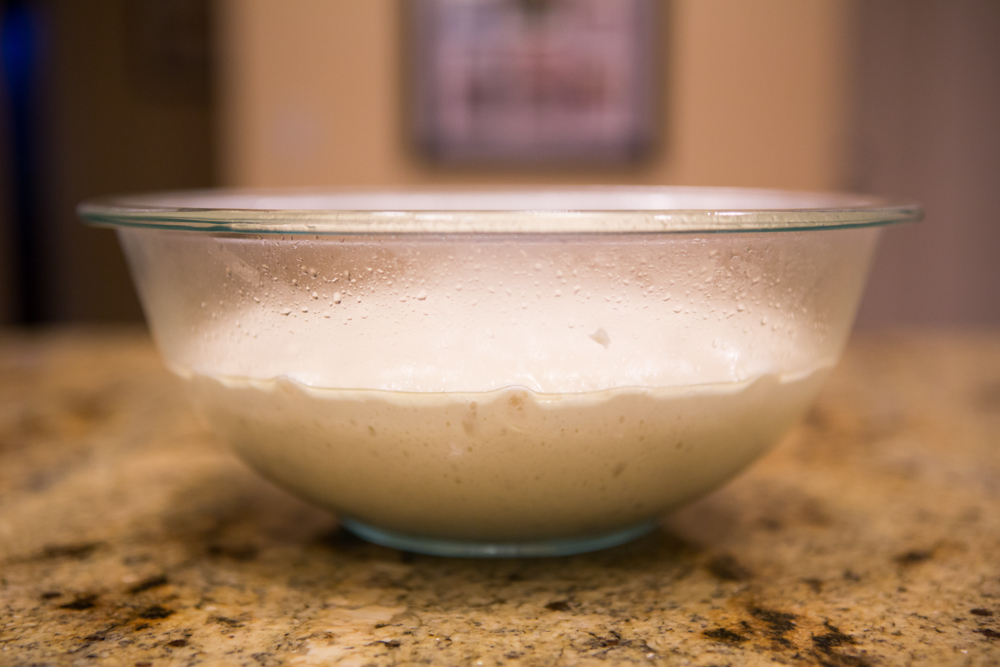
Here’s my lovely risen dough the next day.  I was so happy when I saw that it was actually doing what it was supposed to do!

pizzadough-15

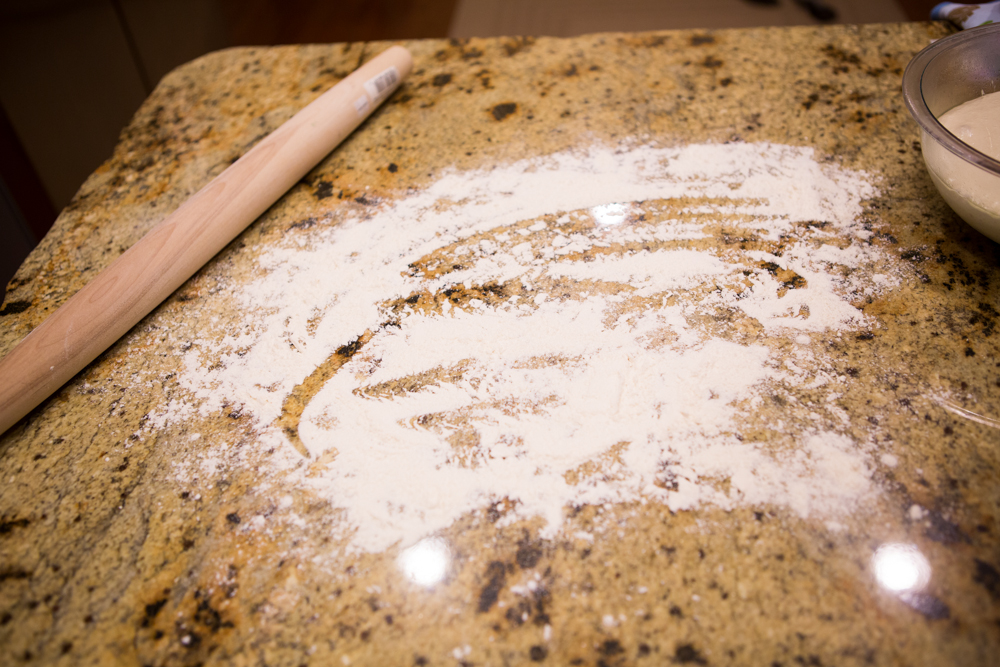
Spread some flour on your very clean counter.  You could also roll out your dough on a very large cutting board, but either way you’ll need to sprinkle some flour on the surface so your dough doesn’t stick.

pizzadough-16

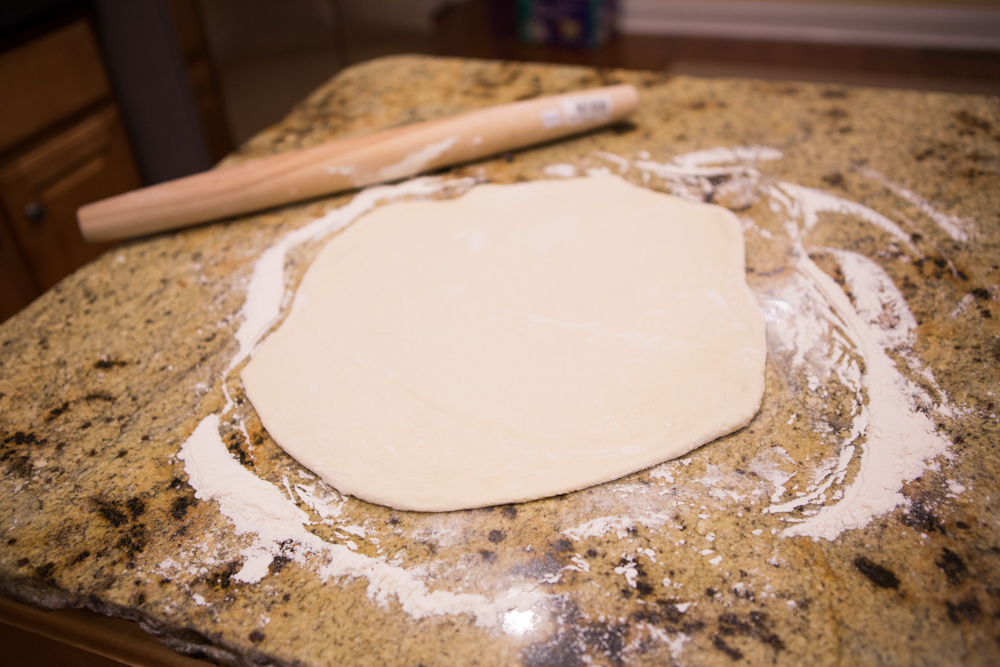
Sprinkle some flour on your rolling pin and the dough and roll out until it’s about 3/4 inch thick.

pizzadough-17

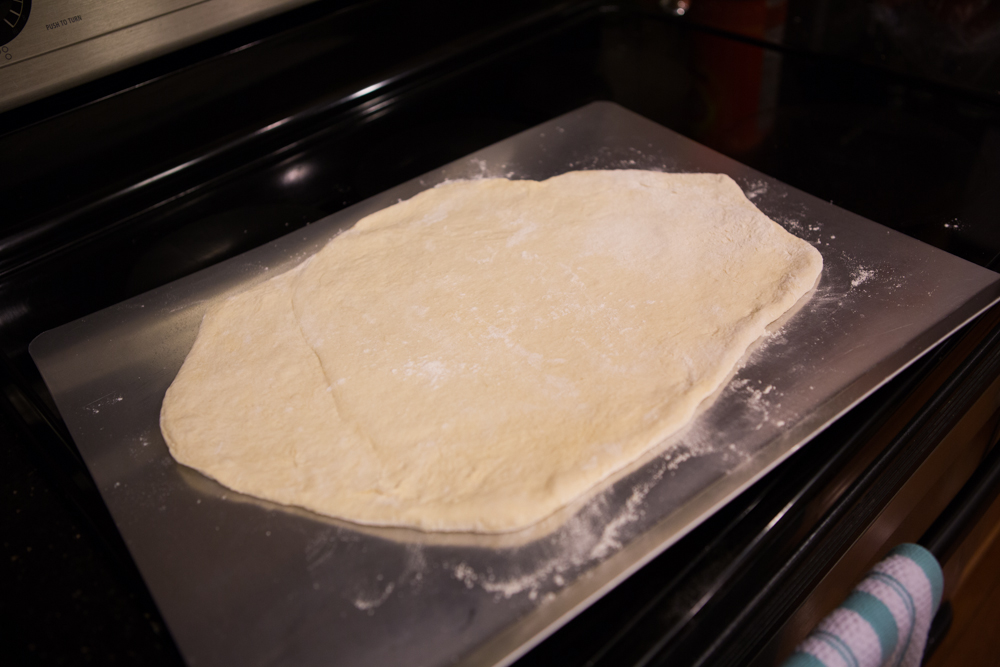
To transfer your dough to the baking sheet, the easiest way is to roll it onto your rolling pin, and then unroll it onto the baking sheet.  This way you won’t tear it with your fingers while trying to lift it.

pizzadough-18

Clearly, I am not a pro at rolling dough into a perfect circle, but luckily this isn’t a pizza making contest, and I doubt the hubster will care what shape his pizza is.

Top dough with your favorite pizza toppings and bake at 500° for 10-12 minutes.  One thing I loved about this dough, as opposed to the canned dough, is that it cooks very evenly.  Pretty much every time I’ve made pizza with the canned dough, the crust is almost burnt by the time the middle is just barely done.  Not so with this homemade dough!  Perfectly cooked all the way through!

*Note: After making this recipe several times, I found that if I poke the rolled out dough with a fork a few times it will prevent air bubbles from forming during cooking.

pizzadough-19

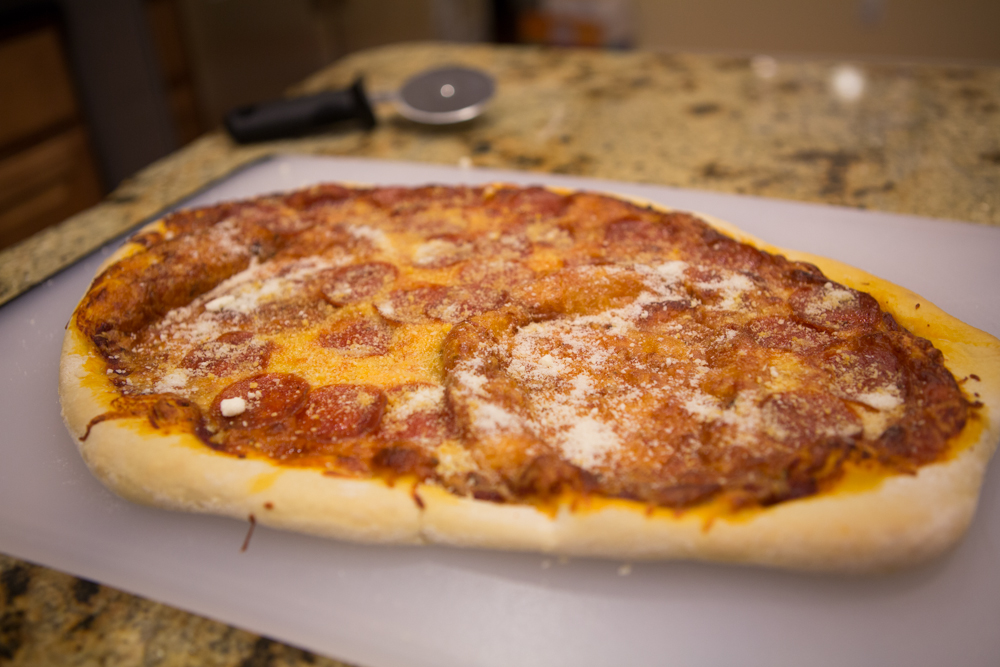
Tada!!!  I went with the classic pepperoni pizza with homemade sauce.  Yum!

[yumprint-recipe id=’2′]

Spring Is Finally Here!!!

Spring has finally made it’s appearance here in Middle Tennessee, and that means we can finally have some fun at the park with Grayson!  I tried taking him to the park in February, but it was cold and windy, and he was not liking it!  This is the face he made that day when I tried to take his picture.

poutyfb

Luckily, this time, there were no pouty faces, and we all enjoyed the nice, warmer weather.

0J4B1923

See that blanket folded up in front of him?  That is so he doesn’t fall forward every time he swings back.  He hasn’t quite gotten the concept of holding on, yet, so the first time I tried to put him on the swings a few months ago he hated it because he kept falling forward.  You live and you learn!

0J4B1924

He loves swinging now!  Especially when his daddy is pushing him and making funny faces!

0J4B1948

Mommy got in on the swinging action too!  (It’s funny how much I refer to myself in 3rd person now.)

0J4B1971

Father and son. 🙂  We’re going to need to work on getting Grayson to say cheese.  He is so used to me shoving a camera in his face that it is SO hard to get him to smile for pictures nowadays.  I have to catch him off guard or do something REALLY funny, otherwise this is the face I get.

0J4B1981

I found this pretty patch of yellow flowers in the grass, so we plopped Grayson down for a mini photo shoot.  But, he was more interested in looking at the grass or the people walking by.

0J4B1991

Out of all the pictures I took, this was the only one I got of him looking into the camera.  This kid, I tell ya!  I’m gonna have to start bribing him to smile, once he understands what I’m saying.

0J4B2019

Since I’m usually the one behind the camera, I don’t have a lot of photos of Grayson and me.  So I had my wonderful hubby snap some pictures of the two of us.

0J4B2017

He’s actually pretty good, as long as I get the camera set up for him!  Hey, Honey, if you ever want to stop selling electronic cigarettes, you can always come into business with me as my second shooter! 😉

0J4B2004

My new favorite of my son and me.  Sure, he’s making a silly face, but that’s his personality, and I love it!  I can’t wait to get outside more and take some pictures!  Yay for warmer weather!!!

Wedding Song

I know it’s been almost two years since our wedding, but I just remembered that I never shared the song I recorded for the sand pouring during our ceremony.  It’s nothing fancy, just something I recorded on Garage Band on my iMac, but it added a personal touch to our ceremony.  I thought about singing it live, but I knew I’d never be able to get through it without crying.

Unfortunately, when we got done pouring our sand and headed back under the arch to gaze lovingly into each others eyes for the remainder of the song the DJ abruptly stopped the song!  Didn’t even fade it out or anything.  We had barely even gotten through half of the song, so all my hard work of recording and rerecording about 100 times went to waste.  I did put the song on CD for my parents, in laws, and a few other family members, but other than that, it hasn’t been heard.  And I think it’s about time that was rectified!

So without further ado, I give you a slideshow of our wedding set to my rendition of Shania Twain’s “From This Moment.”  (I’m singing both parts.)

Photos by my wonderful sister in law, Stacey Pentland Photography.

Venue is Historic Cedarwood in Nashville, TN.

Look Out! He’s On the Move!!!

crawling

Well, it’s finally happened!  After weeks and weeks of my wonderful husband hounding me to work on crawling with Grayson, he has finally figured it out!  And now, about 2 weeks after he took those first crawling steps on his own, he is a pro!

0J4B1894

Luckily, he hasn’t learned how to climb the stairs yet, so we have a little bit of time to figure out the baby gate situation.  We have some baby gates that we used with the dogs, but they won’t work at the top of the stairs (where we need it the most), so we are currently looking at our options.

I bought two baby gates that are specifically for “top of the stairs” placement, but, of course, our banister on one side is too tall for the correct placement of the brackets, and the railing on the other side is too short, and the gate would hit it whenever it was opened.  Sigh….

0J4B1890

Periodically, while Grayson is crawling from room to room (and bruising his little knees along the way), he’ll sit and take a quick break.

0J4B1882

And these little breaks make for great pictures!

0J4B1854

The morning is Grayson’s favorite time of day (other than when his Daddy comes home from work), and it also makes for glorious lighting in our living room and entryway.

0J4B1869

This one is currently the wallpaper on my iPhone.  He is always so happy in the morning!  I love it!

0J4B1907

On the move again!  He crawled back and forth from the front door to the living room probably ten times that morning.  He wasn’t chasing a toy or anything like that.  I think he was just relishing his new found mobility and exploring the house like he never could before.

crawlingtokaylee

“Oh hi, Kaylee!  Don’t mind me.  Just crawling around.  Don’t feel like you need to get up or anything.”

Don’t worry.  She won’t.

0J4B1916

My personal favorite picture of the day.  I started singing his favorite song, “If You’re Happy and You Know It”, and he lit up like he does pretty much every time he hears it.  It’s my little trick to get him to smile for pictures, since he’s so used to the camera now.

If you look closely, you can see his three little teeth.  Two on the bottom, and one on the top that had just broken through a day or two before.  Since I took these pictures three days ago, one more tooth has made it’s appearance, so he now has a total of four teeth!  Poor little guy.  He’s gotten his last three teeth in the past 2 weeks, and at least one more is on it’s way within the next few days.  He’s been pretty miserable at times, but can still crack up at the most random things!  His new funny word is “teeth.”  Whenever I say it, he laughs and laughs.  Silly boy in his firetruck jammies.

10 months old! (And a recap of month 9)

I forgot to post last month’s 9 month photo, so today you get to see my little Grayson at both 9 and 10 months!  I can’t believe in less than 2 months he will be a year old!!!  I’m not ready for it!  Where did my little newborn baby go??

9months

This was his 9 month picture.  He is already looking like a toddler!  I think all that hair is making him look older.  If he was bald he’d still look like a baby…..maybe.

This month had lots of exciting things happen!  Grayson finally learned to crawl on March 14th!  Here’s a video of him about a week after he crawled for the first time. It’s amazing how much he improved in such a short amount of time!

Grayson also got his first tooth on Valentine’s Day!  Now, at 10 months, he has 3 teeth.  Two on the bottom and one on the top that is just barely peeking through.  He also FINALLY started sleeping through the night!!!!

He loves walking around holding onto our hands, and he stomps or marches whenever he walks.  It’s the cutest thing!  Grayson also started swimming lessons this month, and so far he hates it!  He cries pretty much during the entire class, but we’re hoping that he’ll learn to love the water soon!  They had him go underwater on his first day, so I think he’s a little traumatized from that.  But his second lesson seemed a bit better than the first one.  Even though he was crying, he would still jump into the water (from a sitting position) when I counted to three.  Daddy had a nice little present after last week’s lesson when Grayson threw up all over him a few minutes after he got out of the water.  He must have swallowed a bit too much pool water!  Eek!

parkcloves

The weather is starting to get a little warmer (although it did snow this week), so we have ventured to the park a couple times.  The first time I put him on the swing (the baby one) he hated it because he kept falling forward whenever I would push him.  So the second time we went, I wadded up one of his blankets and put it in his lap so he wouldn’t fall forward, and he loved it!

10months

Here is Grayson’s 10 month photo.  That little doggy keeps getting smaller and smaller!  I’m in denial that it’s actually my son that is getting bigger while the dog stays the same size.  *sniff*

nanapapa

Last, but certainly not least, my parents came to visit from CA this past week, and Grayson had so much fun playing with his Nana and Papa!  It was so wonderful that he learned to crawl while they were there.  That just made it even more special!

DIY Curtain Tutorial

kitchen-19

I’m proud to say that I have made all the curtains in our house.  In total, there are 5 sets: blackout curtains in our master bedroom, Grayson’s bedroom, and our bonus room, and blackout Roman shades in our living room.  The newest set (which is what I’ll be covering in this tutorial) is regular, unlined curtains in our kitchen.  Since I couldn’t think of any reason why I would need blackout curtains in my kitchen, I omitted the lining, which made these the easiest curtains I’ve made so far!

Here’s what you’ll need:

  • home decor fabric (mine was 54″ wide)
  • ruler
  • scissors or rotary cutter
  • sewing machine
  • thread
  • pins
  • iron and ironing board

First, you’ll need to measure your window to determine how much fabric you’ll need.  My window is 68″ wide x 84″ tall.  The width doesn’t really matter too much unless your window is REALLY large or REALLY small, in which case you’ll want to adjust your fabric accordingly.  As far as the height goes, this will determine how many yards of fabric you’ll need.  Since I knew I wanted my curtains to hang about 6 inches above the top of the window, I added 6″ to the initial 84″ measurement, which brought my total to 90″.  So determine where you want your curtains to hang and measure from there.  Then you’ll need to add 10 inches to that measurement (2 inches for the top hem and 8 inches for the bottom hem).

So, here was my measurement:

90″ + 10″ = 100″

That was the total for one side.  Remember you’ll need to make two curtains.  So my total fabric length needed to be 200 inches.  Since I like to play it safe and have some extra fabric just in case, I bought 6 yards of fabric (or 216 inches).

Measure and cut your fabric.  You may need to fold your fabric in half lengthwise once or twice to be able to cut in a straight line if you’re using a cutting mat (which I highly recommend).

kitchen

Once your fabric is cut, turn it so the wrong side is facing up.  Fold and press the side of your fabric (going lengthwise) one inch, or if your fabric has designer and color information on the side like mine did (see picture above) you can fold it until you start to see the pattern on the right side of the fabric.

kitchen-2

Fold and press one more time so that you have a one inch hem going down the length of your fabric.

kitchen-3

Pin in place and repeat on the other side.

kitchen-4

Sew both hems as close to the edge as possible.  Don’t forget to back stitch at the top and bottom of your fabric to secure the thread.

kitchen-5

Here you can see my stitch placement on the hem.

kitchen-6

Time for the bottom hem.  Make sure your fabric is still facing with the wrong side up and turn up your fabric 4 inches (across the width) and press.

kitchen-8

Fold up 4 inches again and press.  This will create a nice thick hem at the bottom.

kitchen-9

Pin in place and sew as close to the top edge as possible (just like you did with the sides).

kitchen-15

Here’s another example of my stitch placement on the bottom hem.

kitchen-10

We’re almost done!  Time for the top and final hem!  Turn and press your fabric one inch.

kitchen-12

Turn up one inch again and press.

kitchen-13

Pin in place and sew.  You’re all done with the sewing!!! Now we just need to attach our curtain rings and hang it up!

kitchen-16

These curtain rings with the clips are such a time saver, because you don’t have to worry about making holes for the rings!

kitchen-17

Tada!!!!  Beautiful new curtains, and you made them yourself!!

kitchen-18

These curtains add that special touch I was looking for in my kitchen.  I can’t believe it took me almost three years to decide this window needed some pzazz!

kitchen-19

Here’s a picture of them closed.  They’re so colorful and cheery!

I hope you enjoyed this tutorial!  If you have any questions, please feel free to ask in the comments section.